The RPI (Raspberry Pi) camera is a great module (and cheap) to be playing about with… I have in specific a PI NoIR camera, which is the same as the camera module, with the modification of not having an infrared filter, which will make the photos/videos look decidedly curious.
I want to use this camera to do some NDVI geo-maps at a affordable price tag, and also because is fun.
What is NDVI?
NDVI stands for Normalised Difference Vegetation Index. Live green vegetation absorbs visible light (solar radiation) as part of photosynthesis. At the same time plants scatter (reflect) solar energy in the near infrared. This difference in absorption is quite unique to live vegetation and provides a measure of the greenness of the vegetation.
NDVI is an index which measures this difference, providing a measure of vegetation density and condition. It is influenced by the fractional cover of the ground by vegetation, the vegetation density and the vegetation greenness. It indicates the photosynthetic capacity of the land surface cover. Its value is always between -1 and +1. Higher values are associated with greater density and greenness of the plant canopy, soil and snow values are close to zero, while water bodies have negative values.
Modifying the PI NoIR camera lens
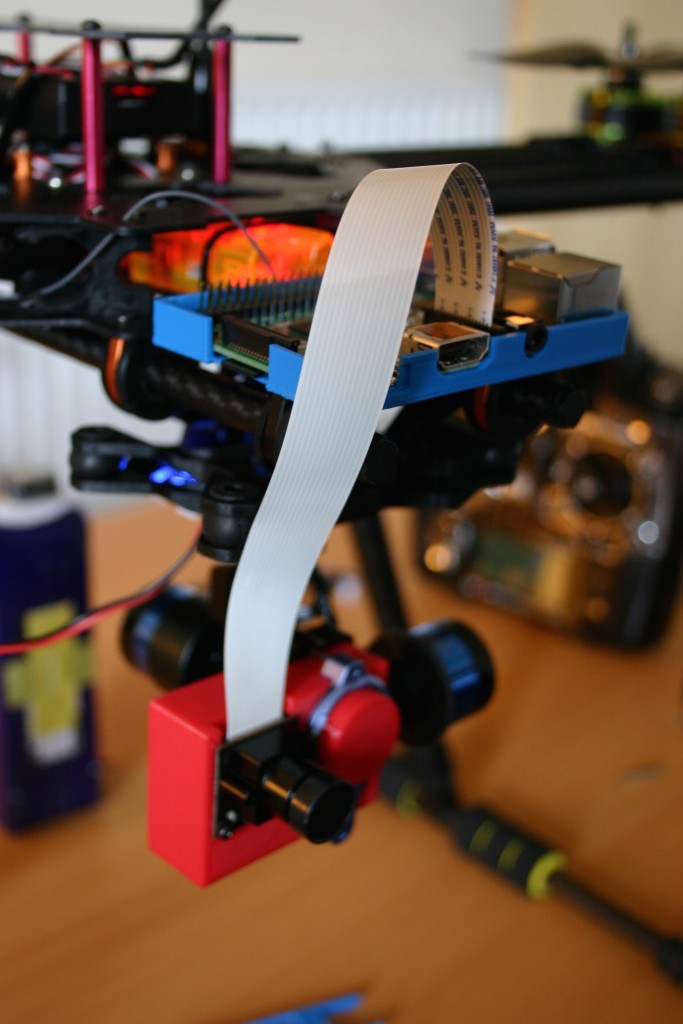
The standard lens provided in the camera is not good for my application, therefore I need to change the lens, the camera module will match with the sizes of CCTV cameras, and you can get different lenses ranging from $10 – $20 USD, maybe even more if you get one with auto focus… I’m using a standard zoom lens of 16mm.
The process is as follows:
- Remove the cable from the camera module, then
- Remove the lens connector (yellowish ribbon with “sunny A1014” info)
- Peal the lens assembly off the board (its only stuck on with an adhesive pad)
- Unscrew the lens from the assembly
- Place the body of the CCTV lens in the camera module (don’t touching the array and don’t get dust into the module sensor, its exposed!)
- Use screws to secure the CCTV lens (they do not exactly match, but it can be done carefully…)
- Screw new lens on the CCTV base receptor
- Use “raspivid -t 0” to adjust the zoom (screw or unscrew) until you see a sharp image…
Its important to notice that depending on the zoom size, the adjusting in the last step will only work (be sharp) at certain distances… My setup work’s from 8-20 meters, if out of that range the images will look blurry.
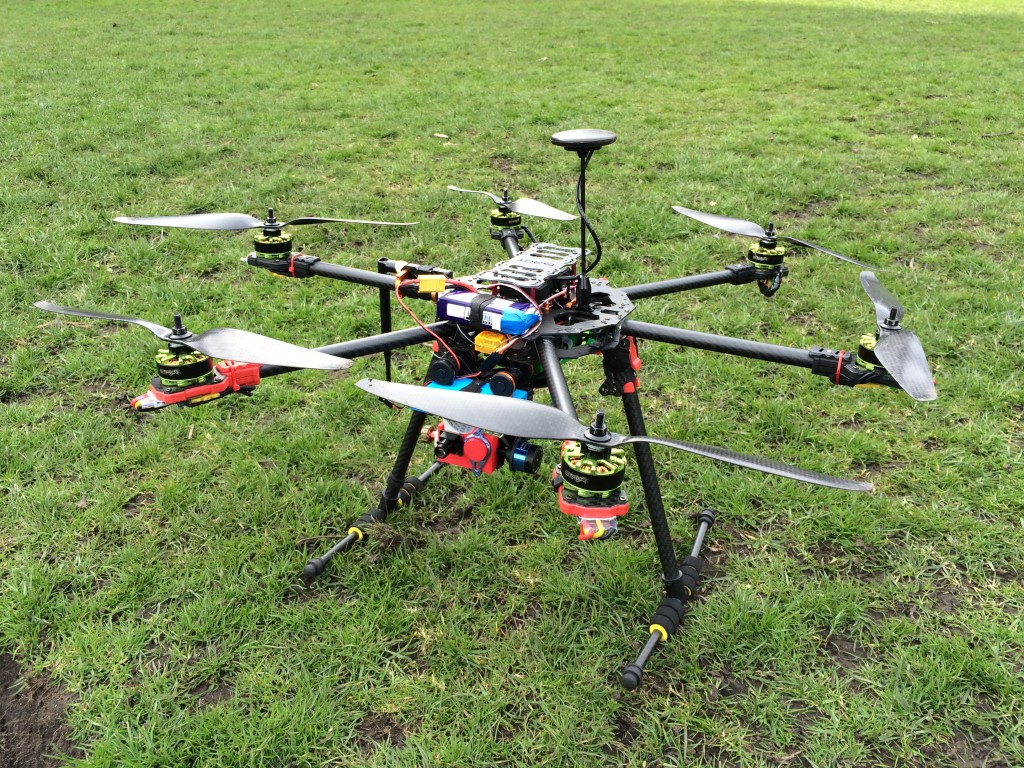
We also designed (my outstanding designer girlfriend and me :P) a GoPro mockup to be able to fit this camera on any standard GoPro gimbal laying around. My Tarot T-2D works awesome for this step:


Then I proceeded to make a small shell script to record videos using the great raspivid command, here you go:
[bash title=”Record timestamped videos using raspivid”]
#!/bin/bash
echo "Starting recording…"
sleep 2
while true ; do
DATE=$(date +"%d_%H_%M_%S")
if raspivid -o /home/pi/videos/$DATE.mp4 -w 1280 -h 720 -n -t 100000 -vf ; then
echo "Video "$DATE".mp4 saved"
else
exit
fi
done
[/bash]
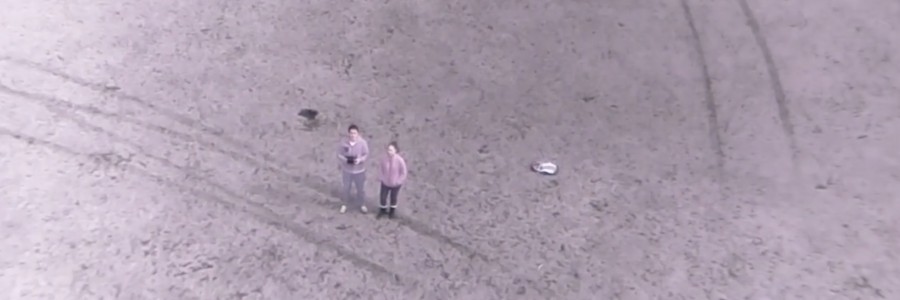
I’m recording timestamped videos with duration of 100 seconds, just in case power goes or something fails, its better to have something than not having videos… You don’t need the echos but they help when you’re debugging. Using this script running every time the rpi boots up, you will end up with very nice videos, similar to this next video:


Hi , can I put cctv lance over the NoIR camera lance without removing it
well yes, I used a cctv camera lense, but you need to remove the previous lense and do a small modification to put the new lense… is easy.
well yes, I used a cctv camera lense, but you need to remove the previous lense and do a small modification to put the new lense… is easy.
Great info and straight to the point. I don’t know if this is in fact the best place
to ask but do you folks have any thoughts on where to employ some professional
writers? Thanks 🙂 Escape rooms hub