
In this post I’m going to explain how to make a very low latency video transmission using a RPI and a RPI camera. I have done a demonstration of this technique and posted a while ago a video, but I never publish how to actually do it, you can see the video here:
What will you need?
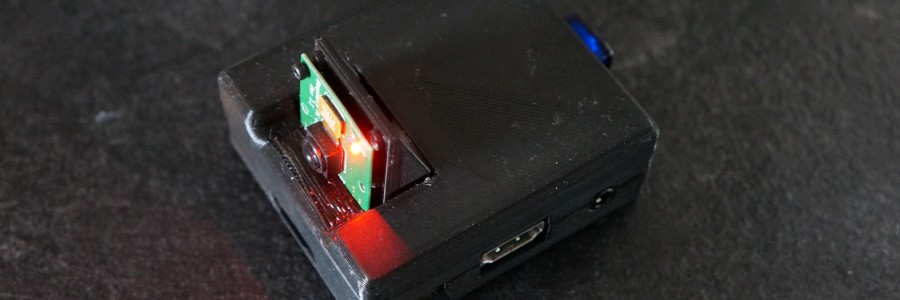
- Raspberry Pi: No matter which one, I’m using a RPI A+ (because of its small size, it can be used on small drones, like racers 😉 ), the RPI must be running raspbian, just that.

- Raspberry Pi camera module: There is nothing as fast as the CSI port…
- Wifi dongle: To connect the rpi to your network. You can actually make the rpi create a ad-hoc network or in any case your ground computer can do it.
- Ground computer: In this case I’m using a Mac to receive the data, the commands might be transferable to windows, but I don’t own one (Thank to all the gods out there :P), so, this will be “terminal” oriented.
How to?
- The rpi and your computer must be in the same network, and you must know the IP addresses of both devices.
- The mac must do a ssh connection to the rpi in order to activate the command.
- On a terminal window of the mac, execute this line:
netcat -l -p 5000 | mplayer -fps 60 -cache 1024 -
- Create a fifo file on the rpi (must be done only once…), by doing:
mkfifo video - On the ssh terminal window of the rpi, (replace the IP address to the one of your pi) execute this command:
cat video | nc.traditional 192.168.1.3 5000 & raspivid -o video -t 0 -w 640 -h 480
Then wait for 20 seconds and you will start seeing video:
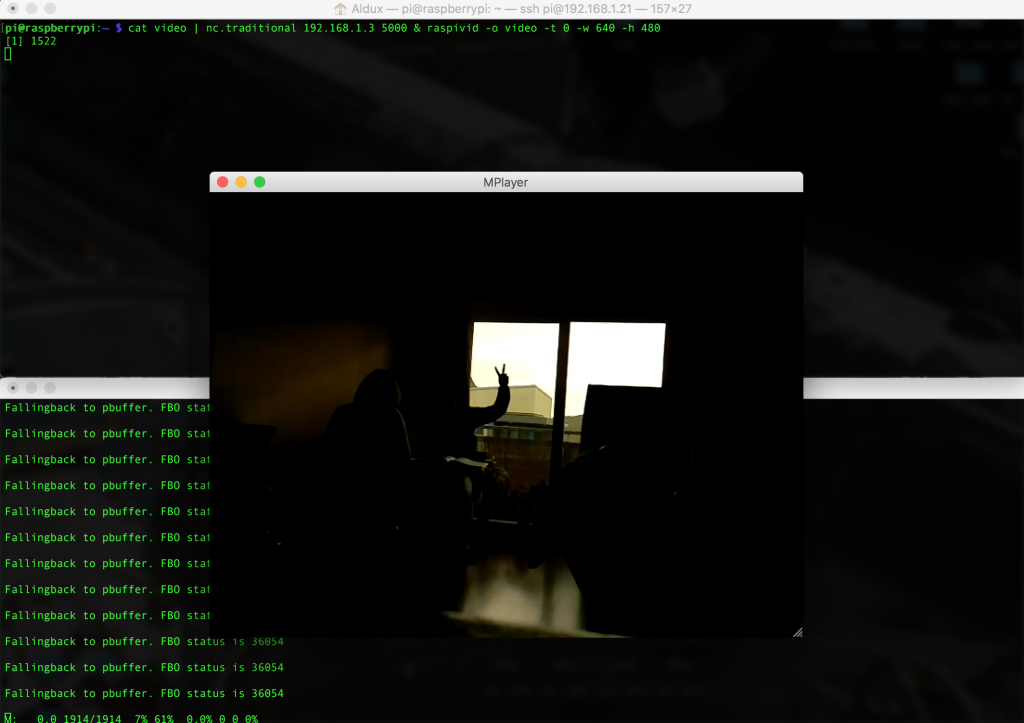
You might notice that at the beginning the video is not “synced”, but if you wait more seconds, the video will catch up and stay in that way!! and you can actually check the low low latency.
Tuneable?
Of course!!! you can change the width and height of the source on the rpi, of course, if you want the super extra low latency, then go for a lower resolution, also you can change the bitrate, but… you need to experiment to get the proper value.
Important to notice is that I have not try it flying yet… but if someone manage to do it and report back to me, I could make improvements to the code to make it easier to use.
In here you can see a video screen-shot of the entire methodology:
Another method?
Of course… There is tons of other several methods to achieve this… The extra one I’m going to show is the one using gstreamer.
GStreamer is a pipeline-based multimedia framework that links together a wide variety of media processing systems to complete complex workflows.
For making it work, you need to first install it, and on the raspberry pi, is done in this way:
sudo apt-get install gstreamer1.0
Also, in the computer receiving the stream, it needs to be installed, I’m using Mac, so, you need to install it using brew, and is something like this:
brew install gstreamer gst-libav gst-plugins-ugly gst-plugins-base gst-plugins-bad gst-plugins-good
brew install homebrew/versions/gst-ffmpeg010
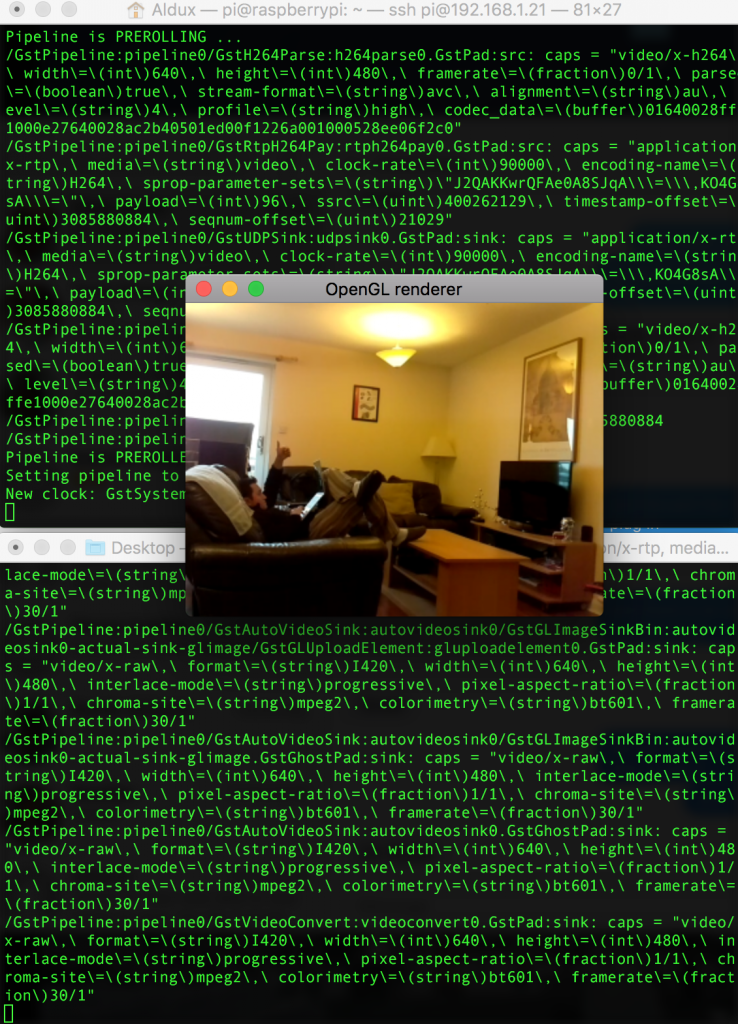
When this is done, then we can actually activate the streams… this is done by executing this line on the RPI:
raspivid -n -w 640 -h 480 -t 0 -o - | gst-launch-1.0 -v fdsrc ! h264parse ! rtph264pay config-interval=10 pt=96 ! udpsink host=192.168.1.3 port=9000
This will activate a stream server and send it via UDP to a host (you need to change the IP address and port to the ones you use). Also you can change the settings on raspivid, like width, height, bitrate and lots of other stuff. I’m using VGA resolution, just to make it super fast.
Now, to receive and display the stream on the host you need to execute this command:
gst-launch-1.0 -v udpsrc port=9000 caps='application/x-rtp, media=(string)video, clock-rate=(int)90000, encoding-name=(string)H264' ! rtph264depay ! video/x-h264,width=640,height=480,framerate=30/1 ! h264parse ! avdec_h264 ! videoconvert ! autovideosink sync=false
This will one a wee window and start displaying video… something like this:
The good thing about this method, is that we can actually get that stream into apps such like Tower from 3DRobotics, and fly a drone using the telemetry and the video at the same time, something similar to DJI Lightbridge, but without paying the thousands dollars this system costs.
On the RPI, you need to execute this line:
raspivid -n -w 640 -h 480 -t 0 -o - | gst-launch-1.0 -v fdsrc ! h264parse ! rtph264pay config-interval=10 pt=96 ! udpsink host=192.168.1.9 port=9000
And on the tablet side… you need Tower Beta, and then just configure the stream port to fit your own…


eqJETfBhXF
Can I simply judt say what a comfort to uncover a person that actually understands what they are talking about on thee internet.
You certainly know how to bring an issue to llight and
mmake it important. More and more people should
look at this and understand this sidre of your story.
I was surprised that you are not more popular because you definitely have the gift. https://www.waste-ndc.pro/community/profile/tressa79906983/