
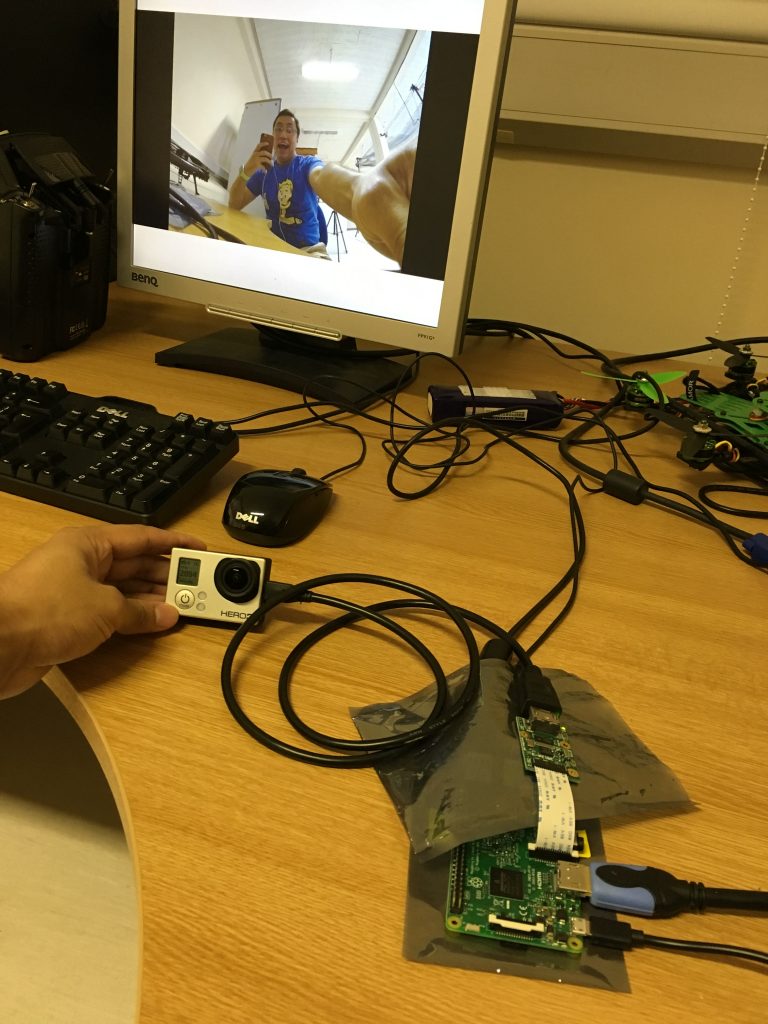
In this post I’m going to demonstrate how to do test some computer vision techniques using the video feed from a GoPro Hero 3 directly towards a Raspberry Pi 3.
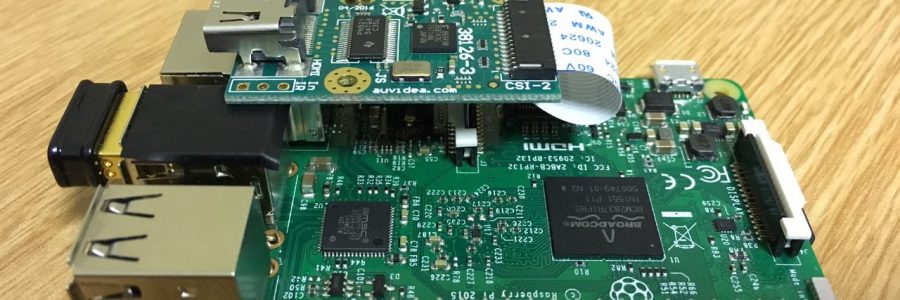
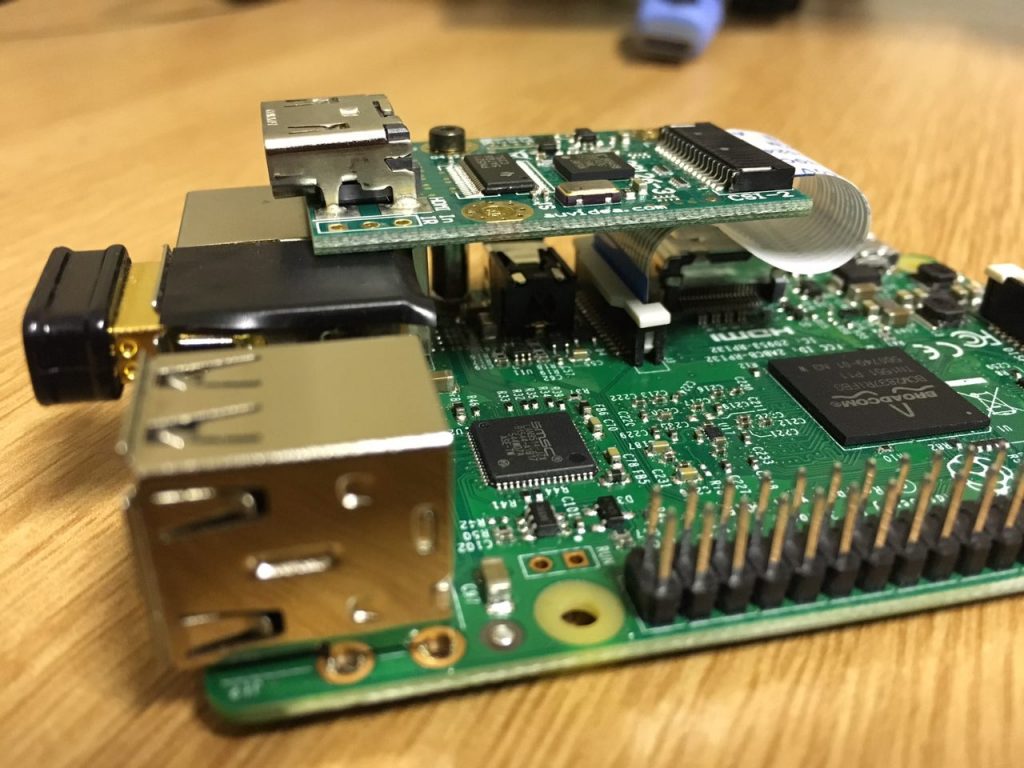
I’m using a special bridge that has a HDMI input and as an output goes to the CSI camera port of the Raspberry Pi, so, basically as easy as using a RPI camera…
This is actually not a very common technique to do, the bridge is from the company Auvidea, and the model is the B101.
And the best part is that its plug and play. I just install it on my RPI, connected the CSI cable to the camera port, turn my RPI on, turn the GoPro on, and run “raspivid -t 0” and voilà, you will see the video on the screen!!!
After that is just question of using my computer vision repository: https://github.com/alduxvm/rpi-opencv, and start testing the different scripts… As usual, I created a video for you guys to see it working, take a look here:
After looking into some of your blog posts, I genuinely like your blogging technique. It’s in my bookmarked list now, and I’ll be checking back soon. Explore my site and let me know your thoughts.
Very interesting subject, thanks for posting.Raise range
Having explored several blog posts on your website, I genuinely like your blogging technique. It’s in my bookmarked list now, and I’ll be checking back soon. Check out my website and share your opinions.
Po procedūros jaučiuosi puikiai, oda švelni ir glotni. Depiliacija vašku Klaipėdoje tikrai veiksminga, labai rekomenduoju. Registruokis dabar.